Add New Category
Navigate to Stock > Categories menu and click on the New Category button or
We can navigate to Import Data > Import Data to upload categories in bulk
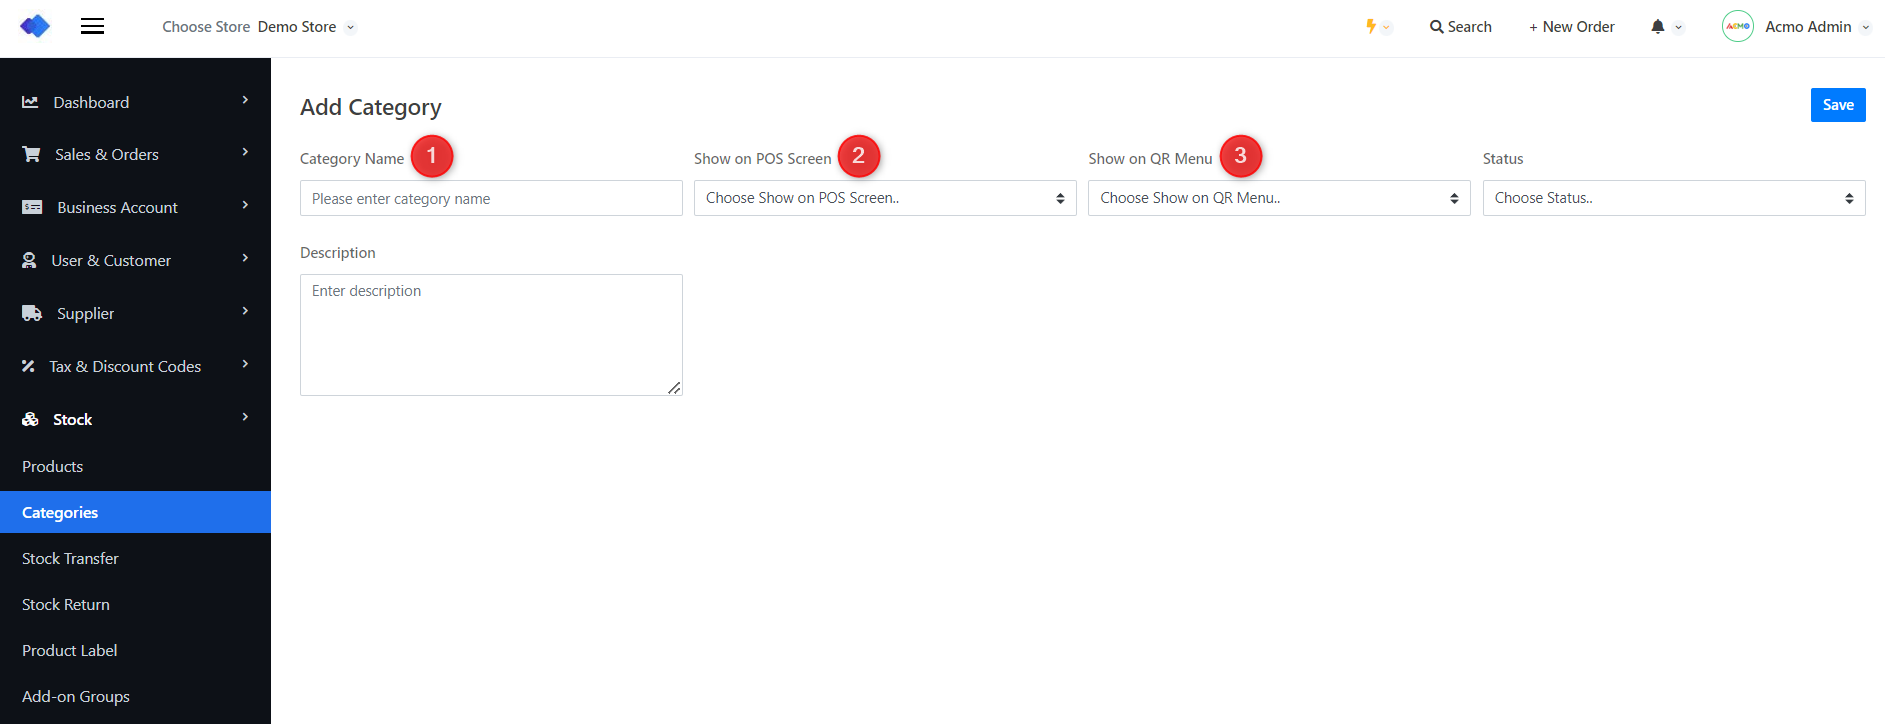
1. Enter category name.
2. Choose whether to show on POS screen or not.
3. Choose Status.
4. Save
To View/Edit/Delete category click on Action button
Add New Product
1. Navigate to Stock > Products menu and click on the New Product button or
We can navigate to Import Data > Import Data to upload products in bulk
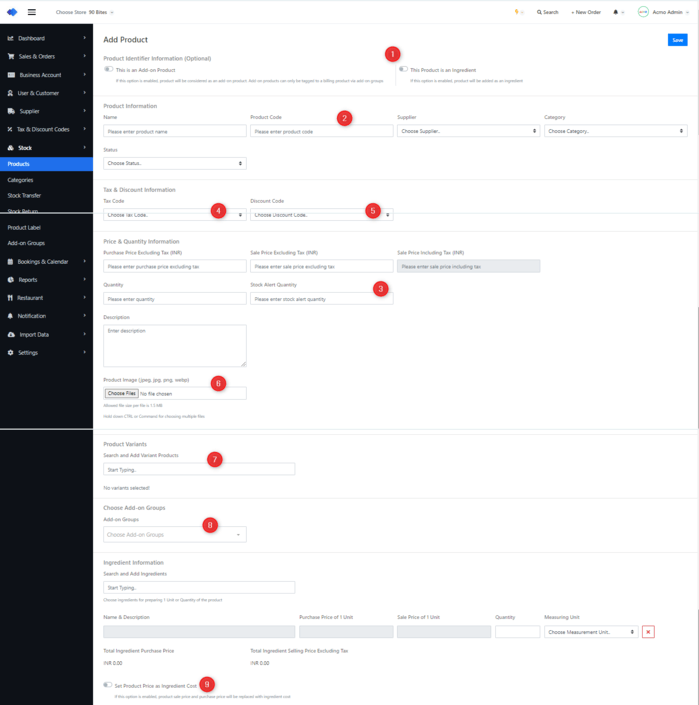
We can choose to add a product as a normal billing product, add-on product, or an ingredient.
Note: Ingredients are applicable only on restaurant mode.
Add-on products are used to create add-on groups, multiple add-on groups can be assigned to a product.
We can choose to add a product as a normal billing product or add-on product
Add-on products are used to create add-on groups, multiple add-on groups can be assigned to a product
2. Product code is unique for all the products in a store
3. Choose Status
4. Low stock alert will be displayed on Stock Quantity Alert report based on this value
5. Assign tax code to the product. Tax percentages will apply to the product while creating an order
6. Assign discount code to the product. Discount percentages will apply to the product while creating an order
7. Multiple product images can be uploaded
8. Add Variants
9. Multiple add-on groups can be assigned to a product
10. Save it
To View/Edit/Delete click products then select view or edit in Action.