Please proceed to visit the specified web URL and utilize the provided login credentials for authentication.
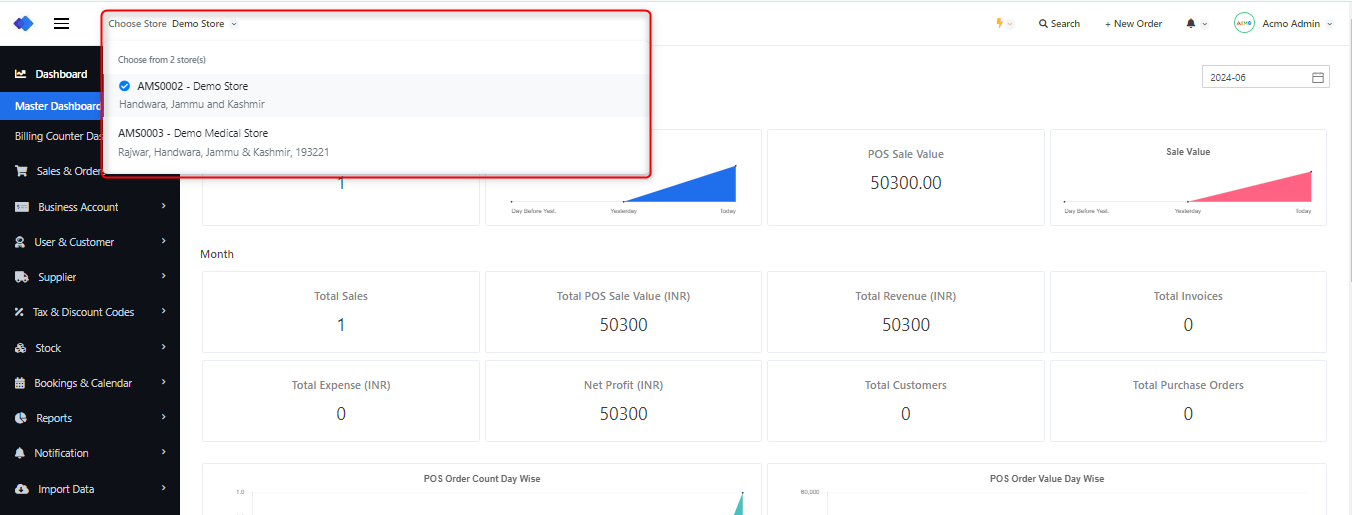
1: If you have multiple Stores/Branches/Outlets then select the appropriate one by using the dropdown list located in the header section labeled “Choose Store.”
2: Next, navigate to the Module labeled Users and Customers and follow these steps:
i. Add Roles: Add role and then choose the Modules the user can access and then proceed to save.
ii. Add Users: Input the basic details of a new user, select the role, and grant permission for the specific store access they require. For detailed instructions on this step, please refer to: https://help.acmosuite.com/doc/how-to-manage-roles-and-users/
3: Proceed to the Supplier section, then access Suppliers to add a new supplier. For detailed instructions on this step, please refer to: https://help.acmosuite.com/doc/how-to-manage-supplier/
4: Go to Tax and Discount, then click on Tax code to add a new tax code. For detailed instructions on this step, please refer to: https://help.acmosuite.com/doc/how-to-manage-tax-codes-and-discount-codes/
5: Access the Settings tab, navigate to Variant options, and add a new variant option such as size, color, etc. For detailed instructions on this step, please refer to: https://help.acmosuite.com/doc/how-to-manage-variant-options/
6: Move to the Stock section, click on Categories, and add a new category.
7: Within the Stock section, click on Products to add a new product. For detailed instructions on 6th and 7th step, please refer to: https://help.acmosuite.com/doc/how-to-manage-categories-and-products/
8: Add discount code (optional)
9: Add Add-on-groups (optional)
Alternatively, for managing data in bulk, select Import data, navigate to Import data, and download either the Reference sheet or Template (User Template, Store Template, Supplier Template, Category Template, and Product Template). Fill in the required information, then upload and save the data.
Moreover, to update existing data, navigate to Import Data, select Upload and Update data for the necessary modifications.
Note: In other articles, we have outlined the steps for various modules. If you require more detailed information on any particular area, please refer back to our comprehensive guides for step-by-step instructions.